
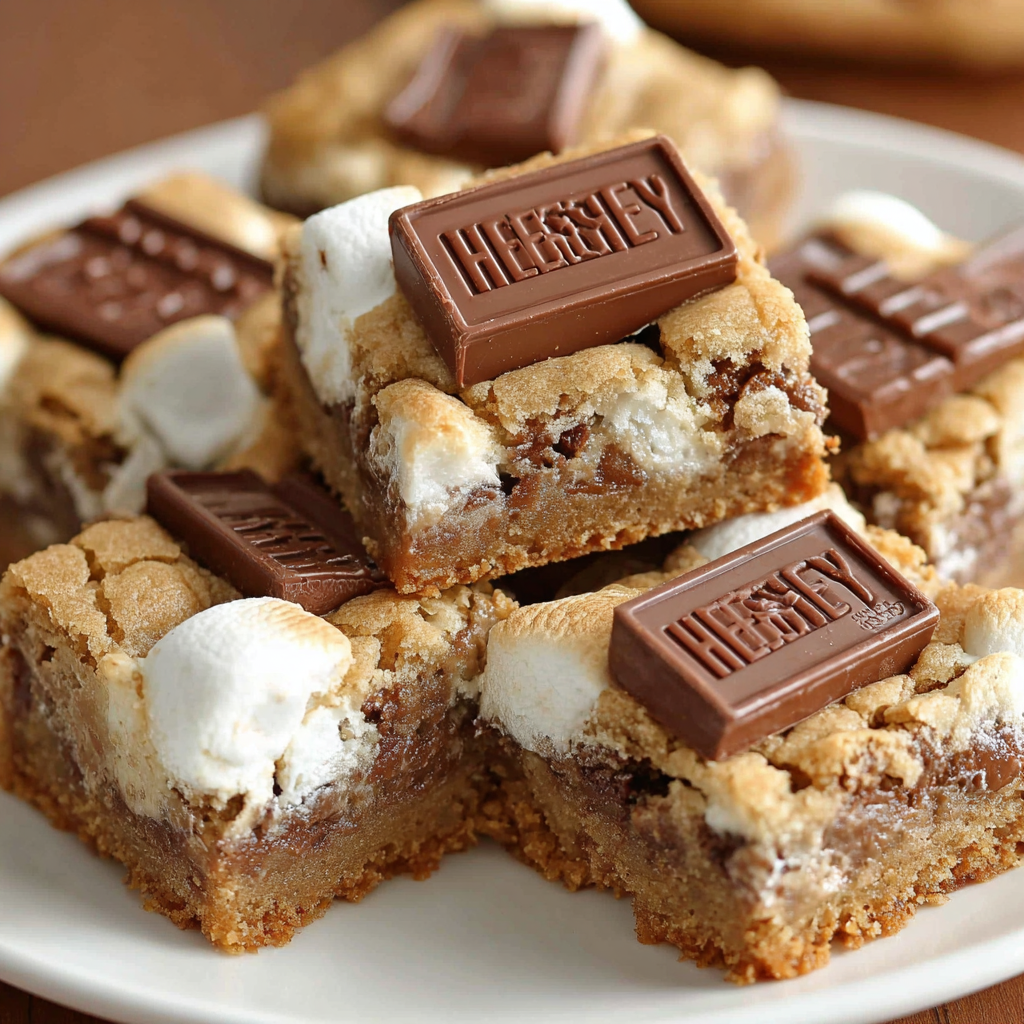
S'mores Cookie Bars

Sweet graham cracker crust topped with cookie dough folded with marshmallows and finished with Hershey bar squares — a portable s'mores lover’s dream.
This recipe is one I return to when I want to recreate the exact nostalgia of a campfire s'more without leaving my kitchen. I first adapted these bars one rainy summer evening when my kids begged for s'mores but the weather and bedtime made a bonfire impossible. Turning s'mores into a tray bake solved every problem: less mess, predictable results, and a dessert that travels well for picnics and potlucks. The balance of textures — a sweet, slightly crunchy graham cracker base, a soft cookie layer dotted with toasted pockets of marshmallow, and molten chocolate pieces on top — is what makes these bars irresistible.
What sets this version apart is the crunchy graham base and the decision to freeze the mini marshmallows before folding them into the dough. That small step prevents them from dissolving into the batter and gives you those delightful, chewy pockets of marshmallow after baking. The bars are crowd-pleasing and forgiving: they tolerate small timing variations and still come out beautifully when you follow a few simple visual cues. Over the years this pan has become my go-to for gatherings — it’s quick, feeds a crowd, and always sparks the same smiles as an outdoor campfire s'more.
Why You'll Love This Recipe
- Comforting campfire flavor in a 9x13 pan — all the classic s'more notes without building a fire or fussing with skewers.
- Fast to assemble: about 10 minutes active prep and 15 minutes in the oven — perfect for last-minute desserts or after-dinner cravings.
- Uses pantry staples: graham crumbs, flour, butter, and common baking ingredients; keep mini-marshmallows in the freezer for best results.
- Make-ahead friendly: bake in advance and slice the day of serving; bars freeze well for up to 3 months in an airtight container.
- Family-friendly and portable: cuts into 24 bars that are ideal for school events, picnics, or a sweet snack to pack for road trips.
In our house these have been requested for birthday treats, school bake sales, and weekend movie nights. My kids announced them as “s'mores you can hug” the first time I set a warm pan on the table, which is the highest compliment in our household. I love that even picky eaters will try a piece and come back for seconds.
Ingredients
- Graham Cracker Crust: 1 3/4 cups graham cracker crumbs, 1/4 cup granulated sugar, 1/2 cup (8 tablespoons) melted butter. Choose full-flavor graham crackers — they provide the base sweetness and a toasty note. Use pre-crushed crumbs or pulse whole crackers in a food processor for consistent texture.
- Cookie Dough: 2 cups all-purpose flour, 1/2 teaspoon baking soda, 1/2 teaspoon salt. These dry ingredients provide structure; measure flour by spooning into the cup and leveling for accurate texture.
- Cookie Dough Wet Ingredients: 3/4 cup unsalted butter, melted and slightly cooled; 1 cup packed brown sugar; 1/2 cup granulated sugar; 1 tablespoon vanilla extract; 1 large egg; 1 large egg yolk. Slightly cooled melted butter ensures a tender crumb while still allowing the sugars to dissolve into the batter.
- Mix-ins: 1 1/2 cups semisweet chocolate chips and 1 1/2 cups mini-marshmallows (freeze before folding into dough). Semisweet chips mimic the Hershey’s bar flavor but the candy bar on top completes the nostalgic profile.
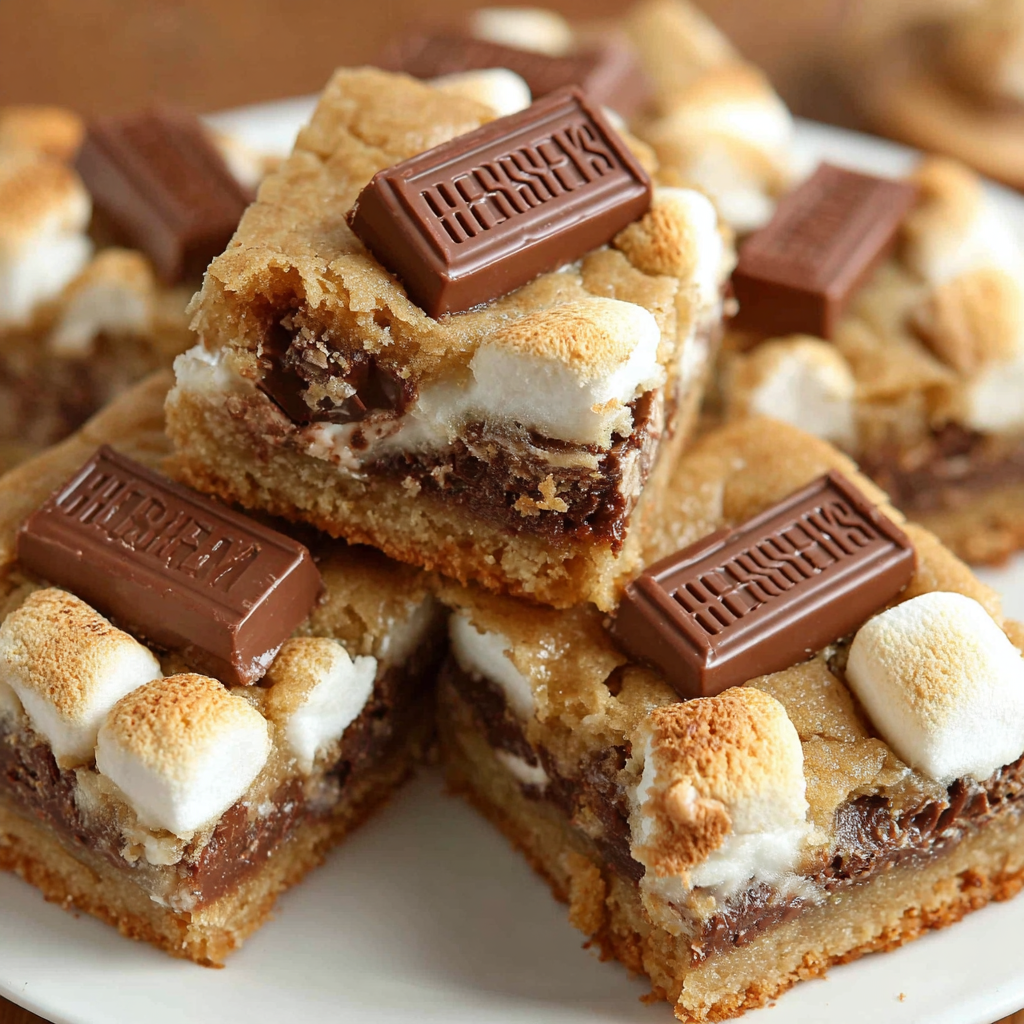
- Topping: Two 1.55-ounce Hershey chocolate bars, broken into pieces and placed on top after baking for that classic s'mores finish with melty chocolate squares.
Instructions
Preheat and Prepare: Preheat oven to 350°F (175°C). Lightly spray a 9x13-inch baking dish with cooking spray or line it with parchment, leaving an overhang for easier removal. Put mini-marshmallows in the freezer for at least 10 minutes — they firm up quickly and will hold their shape better in the dough. Make the Graham Cracker Base: In a medium bowl, combine 1 3/4 cups graham cracker crumbs, 1/4 cup granulated sugar, and 1/2 cup melted butter. Mix until the crumbs are evenly moistened and press firmly into the bottom of the prepared pan using the back of a measuring cup to create an even layer. Chill briefly while you prepare the dough if desired to set the crust. Mix Dry Ingredients: Sift together 2 cups all-purpose flour, 1/2 teaspoon baking soda, and 1/2 teaspoon salt into a bowl and set aside. Sifting ensures there are no lumps and helps with even distribution in the batter. Prepare the Cookie Dough: In a medium bowl, whisk together 3/4 cup melted and cooled butter with 1 cup packed brown sugar and 1/2 cup granulated sugar until smooth. Beat in 1 tablespoon vanilla, 1 egg, and 1 egg yolk until the mixture is light and creamy. Fold in the sifted dry ingredients until just combined — overmixing can lead to tougher bars. Add Mix-ins: Stir in 1 1/2 cups semisweet chocolate chips and 1 cup of the frozen mini-marshmallows. The frozen marshmallows will stay intact through mixing and baking, creating pockets of gooey marshmallow rather than melting completely into the batter. Assemble in Pan: Spoon the dough over the chilled graham crust and gently press into an even layer. The dough can look thick at first but will spread while baking. Scatter the remaining 1/2 cup mini-marshmallows on top, pressing them in lightly so they'll toast and adhere. Bake: Bake at 350°F for 18–25 minutes, or until the top shows touches of golden brown and the center is set — it should not be jiggly. Start checking at 18 minutes; remove as soon as the center holds to avoid overbaking. The bars will firm up as they cool. Finish with Chocolate: Remove the pan from the oven and let rest for about 5 minutes. Carefully press broken pieces from the two Hershey bars onto the warm surface so they soften and adhere. Allow the pan to cool completely on a rack before slicing into 24 bars. Cold marshmallows and softened chocolate make clean slices when chilled briefly.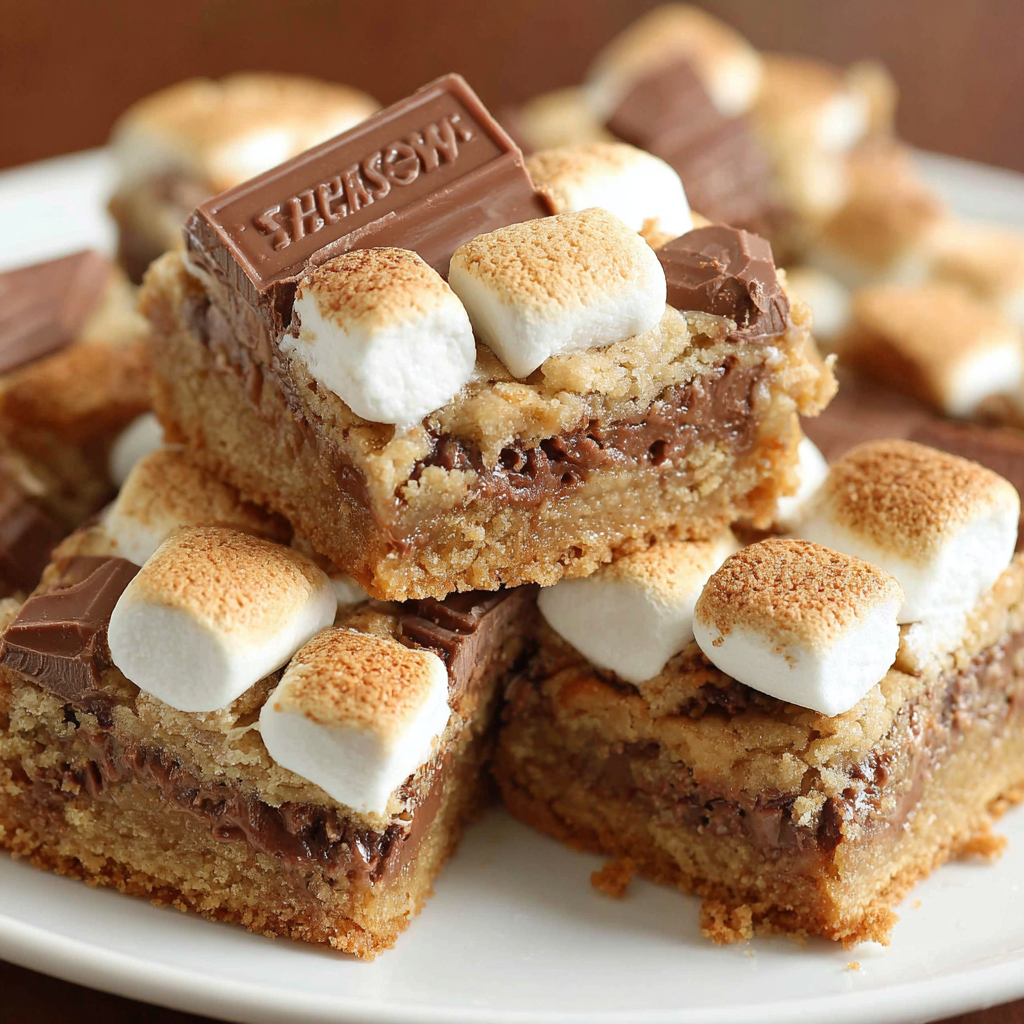
You Must Know
- High in calories and carbohydrates — a rich treat best enjoyed in moderation. Each bar is dense with butter, sugar, and chocolate.
- Storage: keep in an airtight container at room temperature for up to 3 days, refrigerate up to a week, or freeze for 2–3 months.
- Freezing works well: wrap individual bars in plastic and place in a freezer-safe container to retain texture.
- Swapping marshmallows or chocolate will affect the gooeyness and melting characteristics — see substitutions below for guidance.
My favorite aspect of these bars is how portable they are: bring a tray to a backyard party and they disappear first. The contrast of a slightly crisp crust and soft cookie layer with pockets of marshmallow always earns compliments, and the simple Hershey topping makes them unmistakably s'mores.
Storage Tips
For short-term storage, place cooled bars in a single layer in an airtight container lined with parchment to prevent sticking and keep at room temperature for up to 3 days. For longer storage, freeze bars individually wrapped in plastic and then in a zip-top freezer bag for up to 3 months. Thaw overnight in the refrigerator and bring to room temperature before serving, or warm briefly in a 300°F oven for 6–8 minutes to revive gooey marshmallows and melted chocolate. Avoid refrigerating for extended periods if you want to preserve chewiness; refrigeration can firm the butter and change texture.
Ingredient Substitutions
If you need to swap items, here are reliable alternatives and how they affect the final result: use chocolate chips with an equal weight of a chopped chocolate bar for a more uneven melt; substitute vegan butter and vegan marshmallows for a dairy-free, vegan attempt (note: vegan marshmallows change texture and may be less gooey). For a gluten-free version, use a certified gluten-free graham or substitute finely crushed gluten-free graham-style cookies and a 1:1 gluten-free flour blend. Brown sugar contributes moisture and chew — replacing it entirely with white sugar will yield a crisper, less tender bar.
Serving Suggestions
Serve warm with a scoop of vanilla ice cream or a dollop of lightly whipped cream to balance sweetness. For a kid-friendly dessert, cut into small squares and include a napkin — they are portable and less messy than traditional s'mores. For adults, pair with strong coffee or a glass of cold milk. Garnish with a sprinkle of finely crushed graham cracker or a drizzle of melted dark chocolate for a polished presentation at parties.
Cultural Background
S'mores are an American campfire classic with roots in early 20th-century youth camping culture. The name is a contraction of "some more," reflecting how quickly they disappear. Transforming campfire treats into tray bakes is part of a long tradition of adapting outdoor foods for indoor convenience; this style of bar dessert carries the same flavor cues while using kitchen-friendly techniques. Many regional variations play with chocolate types, the use of different cookies for the base, or adding nuts and fruit to broaden the flavor profile.
Seasonal Adaptations
In summer, keep the recipe as-is for backyard gatherings. In fall, add a pinch of cinnamon or swap half the chocolate chips for pumpkin spice white chocolate for seasonal flair. During winter holidays, fold in chopped toasted pecans and use peppermint chocolate bars for topping to give a festive note. For warm-weather picnics, bake ahead and serve chilled or at room temperature; for colder months, serve slightly warmed to maximize gooeyness.
Meal Prep Tips
To make ahead, bake the bars and store whole in the refrigerator; slice the day you plan to serve for the cleanest edges. For portion control, slice into 24 bars and wrap individually in parchment for grab-and-go snacks. If you’re bringing them to an event, keep them in a cooler to maintain texture. When freezing, flash-freeze on a tray before bagging to avoid pieces sticking together. Reheat wrapped bars in a toaster oven for a minute or two to refresh their melty quality.
Success Stories
I first served these at a neighborhood potluck, and a friend told me they tasted exactly like her childhood campfire memories — she asked for the recipe on the spot. At a school fundraiser, they sold out twice as fast as any other dessert. One winter we used miniature peppermint patties instead of Hershey bars and the family dubbed them "snowy s'mores," a seasonal hit. Small changes like using coarse sea salt on top of warm chocolate can also create a grown-up twist that guests adore.
These bars are a simple way to celebrate familiar flavors with minimal fuss. Whether you bake for a crowd or a cozy night in, they invite nostalgia and joy — and usually disappear before the dishes are done. Give them a try and make them your own with the variations and tips above.
Pro Tips
Freeze mini-marshmallows for 10 minutes before folding into the dough to prevent them from melting into the batter.
Press chocolate pieces onto the warm bars immediately after baking so they soften and adhere without losing shape.
Cool completely before cutting; chilling slightly yields cleaner slices and prevents sticking.
This nourishing s'mores cookie bars recipe is sure to be a staple in your kitchen. Enjoy every moist, high protein slice — it is perfect for breakfast or as a wholesome snack any time.
FAQs about Recipes
Can I freeze S'mores Cookie Bars?
Yes, bars can be frozen for up to 3 months. Wrap individually in plastic and store in a freezer-safe container. Thaw overnight in the refrigerator.
Why freeze the marshmallows before mixing?
If mini-marshmallows are not frozen first they may melt into the dough more. Freezing for 10 minutes firms them and preserves marshmallow pockets.
Tags
S'mores Cookie Bars
This S'mores Cookie Bars recipe makes perfectly juicy, tender, and flavorful steak every time! Serve with potatoes and a side salad for an unforgettable dinner in under 30 minutes.
Ingredients
Graham Cracker Crust
Cookie Dough
Topping
Instructions
Preheat and Prepare
Preheat oven to 350°F and spray a 9x13-inch pan with cooking spray or line with parchment. Freeze mini-marshmallows for at least 10 minutes to firm them up.
Make the Graham Cracker Base
Combine graham crumbs, sugar, and melted butter and press evenly into the bottom of the pan. Chill briefly if desired to set the crust.
Sift Dry Ingredients
Sift together flour, baking soda, and salt into a bowl and set aside to ensure even mixing and no lumps.
Mix Wet Ingredients
Whisk melted cooled butter with brown and white sugar until smooth. Beat in vanilla, egg, and egg yolk until light and creamy before adding the dry mix.
Fold in Mix-ins
Stir in chocolate chips and 1 cup of the frozen mini-marshmallows gently to preserve marshmallow pockets.
Assemble and Top
Spoon dough over the graham crust and gently press to an even layer. Sprinkle remaining marshmallows on top and press lightly.
Bake
Bake 18–25 minutes at 350°F until the top has light golden spots and the center is set. Avoid overbaking; bars firm as they cool.
Finish and Cool
After removing from oven, let sit 5 minutes then press Hershey bar pieces into the warm surface. Cool completely before cutting into 24 bars.
Last Step: Please leave a rating and comment letting us know how you liked this recipe! This helps our business to thrive and continue providing free, high-quality recipes for you.
Nutrition
Did You Make This?
Leave a comment & rating below or tag
@yummique on social media!
Categories:
You might also like...

Cheesy Zucchini Rollatini Bake
Tender grilled zucchini wraps basil ricotta, bathed in marinara and mozzarella, baking into a bubbly, lighter Italian comfort dinner ready in 30 minutes.

Air Fryer Zucchini and Squash
Crisp-edged, tender-in-the-middle zucchini and yellow squash made in 15 minutes with pantry spices. A vibrant, veggie-forward side everyone devours.

Chicken Meatball Parmesan
Tender chicken meatballs simmered in rich marinara and blanketed with melty mozzarella, bringing all the flavors of chicken parm in cozy, bite-sized form.
Did You Make This?
Leave a comment & rating below or tag @yummique on social media!
Rate This Recipe
Share This Recipe
Enjoyed this recipe? Share it with friends and family, and don't forget to leave a review!
Comments (1)
This recipe looks amazing! Can't wait to try it.
Comments are stored locally in your browser. Server comments are displayed alongside your local comments.

Hi, I'm Amira!
What's Popular

30-Minute Meals!
Join to receive our email series which contains a round-up of some of our quick and easy family favorite recipes.