
>>

A fast, family-friendly air fryer pizza with a crisp crust and gooey cheese. Ready in under 20 minutes and easy to customize with your favorite toppings.
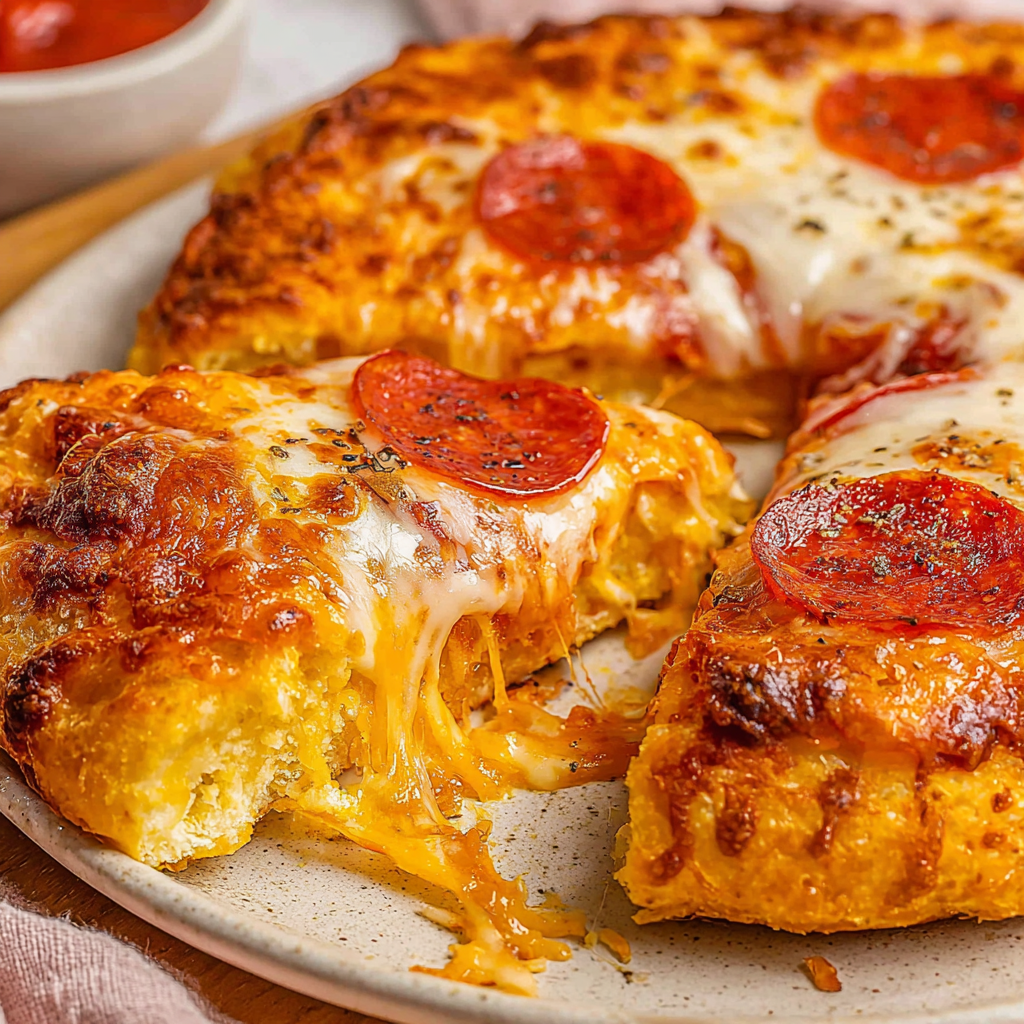
My family often asks for this version when we want something quick and comforting. The kids especially like arranging their own pepperoni, and my partner appreciates that I can get dinner on the table in under 20 minutes without compromising flavor or texture.
What I love most is how flexible this approach is. Once I learned to par-bake and check halfway through the final bake, every pizza I made in the machine came out consistent. Readers have told me they use this method for quick lunches or for making personal pizzas for parties. The small learning curve is worth it for the speed and flavor payoff.
Cool slices completely before storing to prevent condensation. Place in an airtight container with layers separated by parchment, or wrap whole pizza in plastic wrap and then foil. Refrigerate for up to 3 days. For longer storage, freeze wrapped slices for up to 2 months. Reheat directly in the appliance at 350°F for 3 to 5 minutes, or until warmed through and the crust is crisp again. Avoid microwaving if you want to preserve texture.
Swap mozzarella for a blend of mozzarella and provolone for extra depth, or use thinly sliced fresh mozzarella for a creamier melt. For a vegetarian option, replace pepperoni with roasted mushrooms or thinly sliced bell peppers. Use a gluten-free dough if you need a gluten-free variation but note that cook times may vary and crust texture will differ. For dairy-free, choose a plant-based cheese and skip the pepperoni.
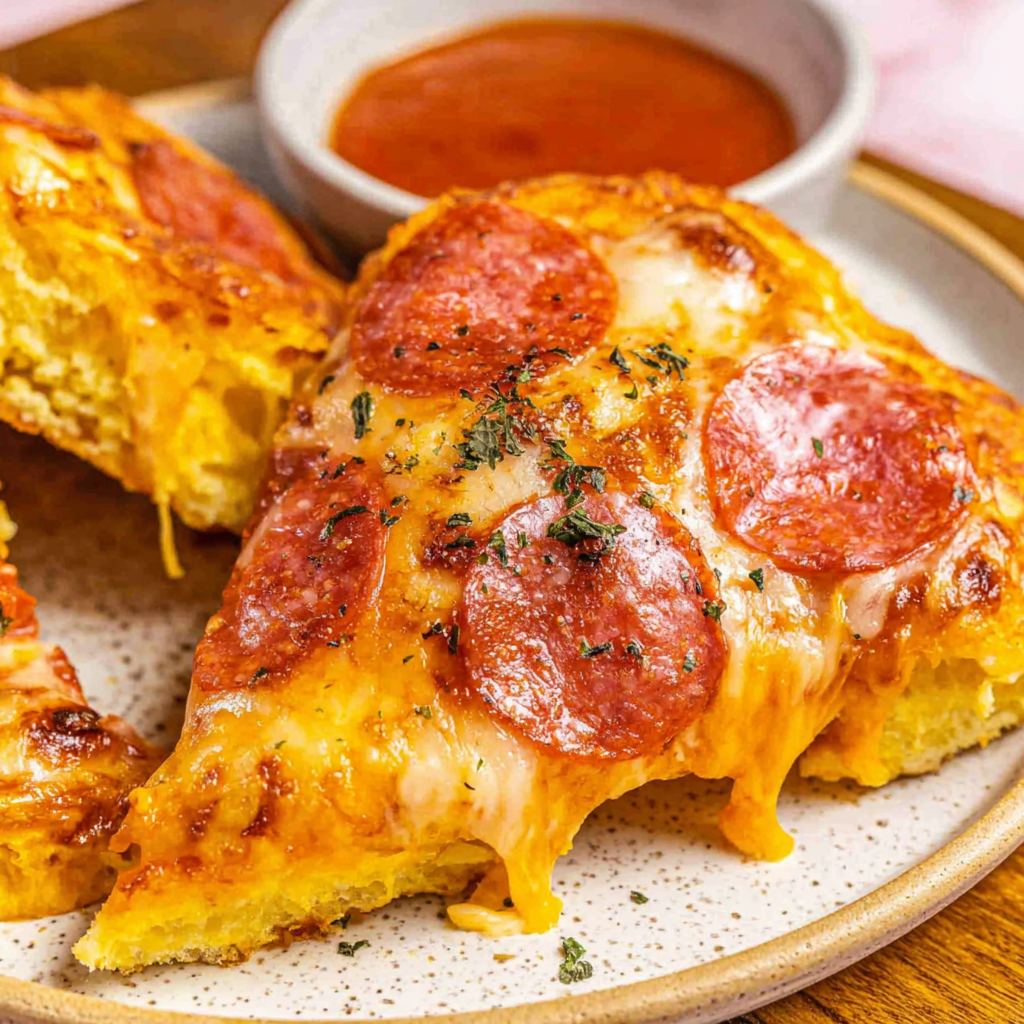
Serve slices with a simple green salad dressed in lemon and olive oil to cut through the richness. Offer red pepper flakes, grated Parmesan, or a drizzle of olive oil at the table. For a casual meal, pair with oven-baked fries or a bowl of mixed olives. For a date-night twist, add a few basil leaves after baking and a final grating of aged cheese.
This quick method borrows from the long tradition of wood-fired pizzas where high heat crisps the crust rapidly. The device reproduces that intense heat in a compact appliance, scaling the technique to home kitchens without pizza ovens. Pepperoni, an American adaptation of spicy salami, became a classic topping in the United States and is now synonymous with comfort food pizza across many households.
In summer, top with fresh heirloom tomatoes and basil for a bright take. In winter, substitute caramelized onions and roasted root vegetables for a heartier profile. Holiday gatherings work well with small personal pizzas using seasonal cheeses and cured meats. Adjust baking times slightly if you add heavy, moisture-rich toppings.
To streamline weeknight dinners, par-bake several crusts and store them in the refrigerator for up to 24 hours. Assemble and finish cooking when needed. For lunches, make mini personal pizzas and reheat in the appliance at 350°F for a few minutes. Use labeled containers for toppings so each family member can customize their own quickly.
This simple machine method makes pizza approachable and fun. Try it once and you will likely make it again the next busy weeknight. Enjoy experimenting with toppings and textures, and share your favorite combinations with friends and family.
Par-bake the crust for 3 minutes so it firms up and resists sogginess when you add sauce and toppings.
Use a light coat of olive oil on the dough to promote browning and a crisp edge without excess oiliness.
Check the pizza halfway through the final bake to prevent over-browning, especially around the edges.
Shred cheese from a block for a better melt and fewer anti-caking additives than pre-shredded cheese.
This nourishing quick air fryer pepperoni pizza recipe is sure to be a staple in your kitchen. Enjoy every moist, high protein slice — it is perfect for breakfast or as a wholesome snack any time.
Yes. The dough can be par-baked, cooled, and stored in the refrigerator for up to 24 hours before adding toppings and finishing.
Reheat leftover slices in the appliance at 350°F for 3 to 5 minutes for a crisp crust. Avoid microwaving if you want to preserve texture.
This Quick Air Fryer Pepperoni Pizza recipe makes perfectly juicy, tender, and flavorful steak every time! Serve with potatoes and a side salad for an unforgettable dinner in under 30 minutes.
Preheat the machine to 375°F for 3 to 5 minutes so the crust receives an immediate blast of heat when placed inside.
On a lightly floured surface, roll the 14-ounce dough into a shape that fits the basket, about 8 to 10 inches across, using 1 tablespoon flour to prevent sticking.
Place parchment in the basket, transfer the dough, brush with 1 teaspoon olive oil, and par-bake at 375°F for 3 minutes until the edges begin to set.
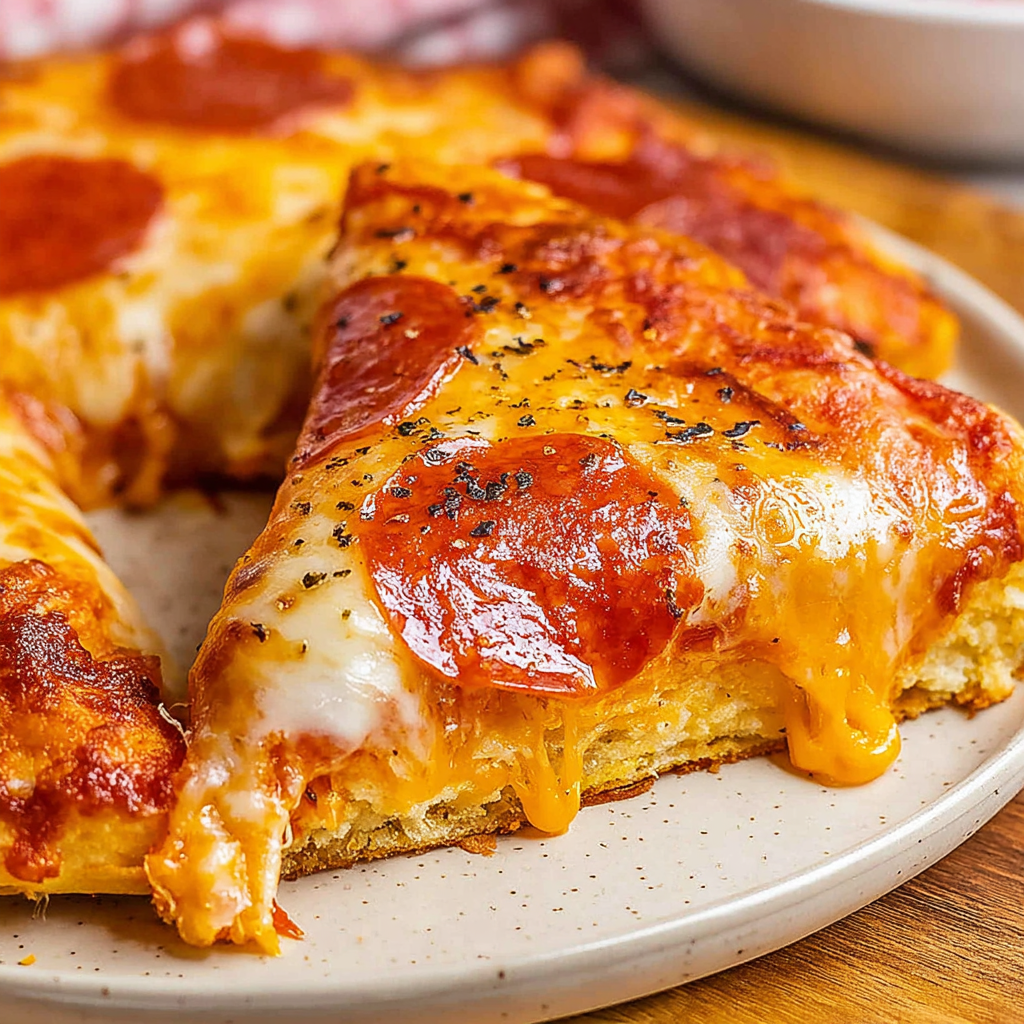
Remove the basket, spread 1/2 cup pizza sauce leaving a border, sprinkle 1 1/2 cups shredded mozzarella, and arrange 6 pepperoni slices evenly.
Return the pizza to the appliance and cook at 375°F for 6 to 8 minutes. Check halfway through and remove when crust is golden and cheese is bubbling.
Remove carefully with a spatula or tongs, let rest for a few minutes to allow the cheese to set, then slice and serve.
Last Step: Please leave a rating and comment letting us know how you liked this recipe! This helps our business to thrive and continue providing free, high-quality recipes for you.
Leave a comment & rating below or tag
@yummique on social media!

Tender grilled zucchini wraps basil ricotta, bathed in marinara and mozzarella, baking into a bubbly, lighter Italian comfort dinner ready in 30 minutes.

Crisp-edged, tender-in-the-middle zucchini and yellow squash made in 15 minutes with pantry spices. A vibrant, veggie-forward side everyone devours.

Tender chicken meatballs simmered in rich marinara and blanketed with melty mozzarella, bringing all the flavors of chicken parm in cozy, bite-sized form.
Leave a comment & rating below or tag @yummique on social media!
Enjoyed this recipe? Share it with friends and family, and don't forget to leave a review!
This recipe looks amazing! Can't wait to try it.
Comments are stored locally in your browser. Server comments are displayed alongside your local comments.

Join to receive our email series which contains a round-up of some of our quick and easy family favorite recipes.
