
>>

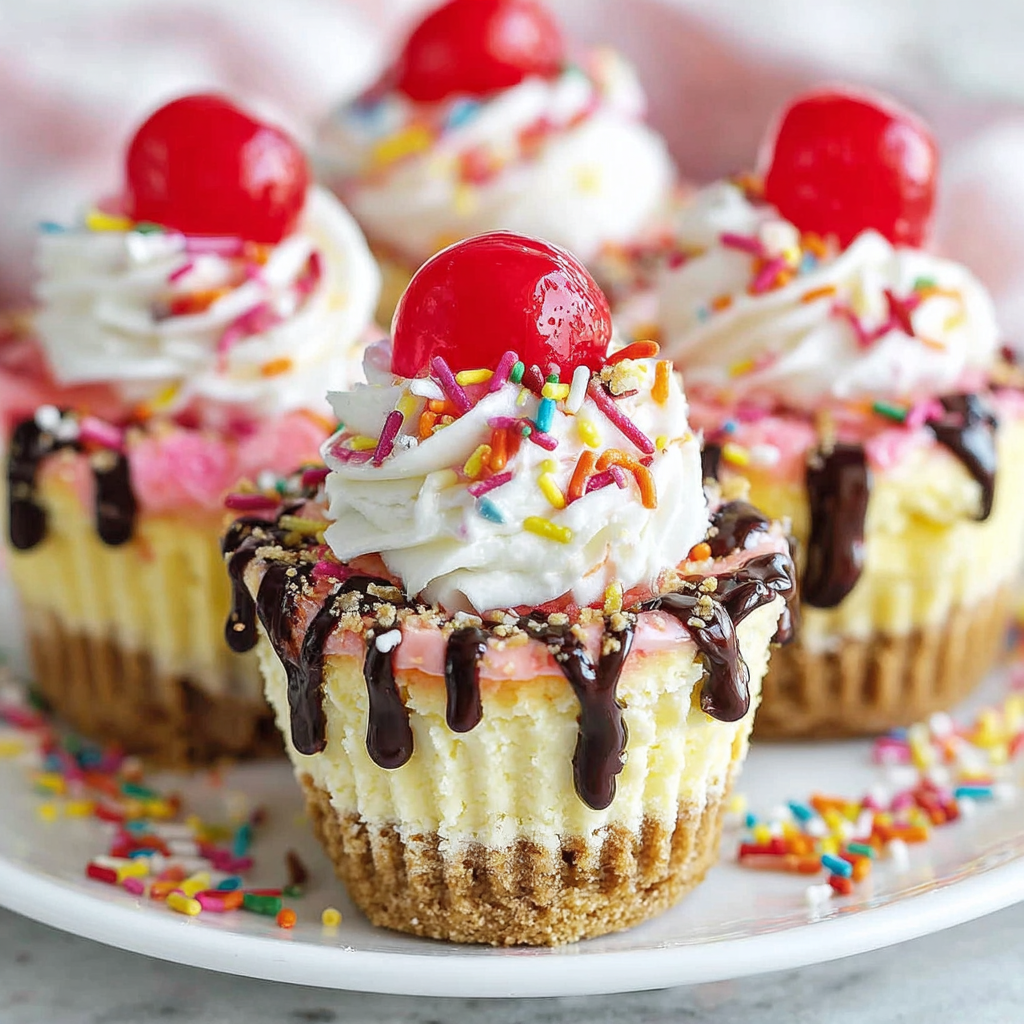
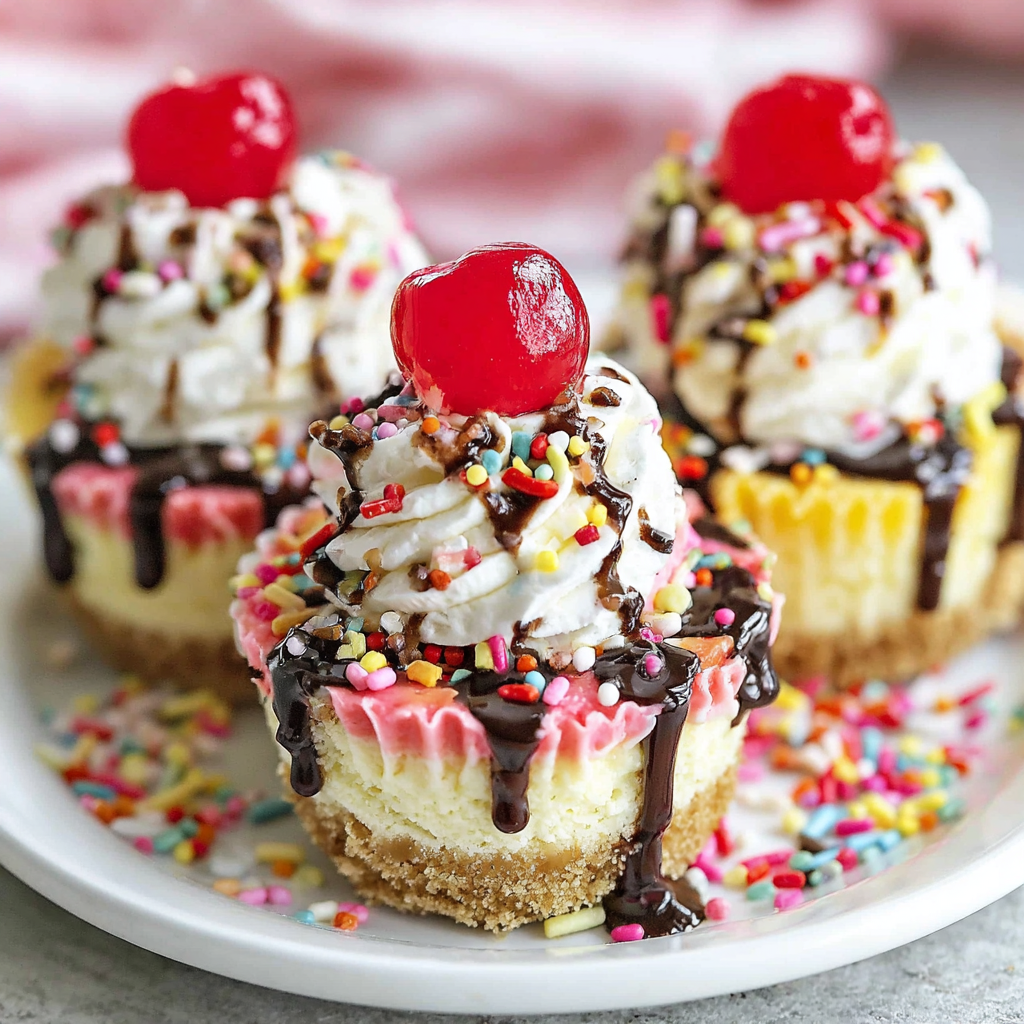
Fun summer-ready mini cheesecakes with an ice cream cone crust, topped with vanilla and strawberry whipped cream, chocolate sauce, sprinkles, and a cherry.
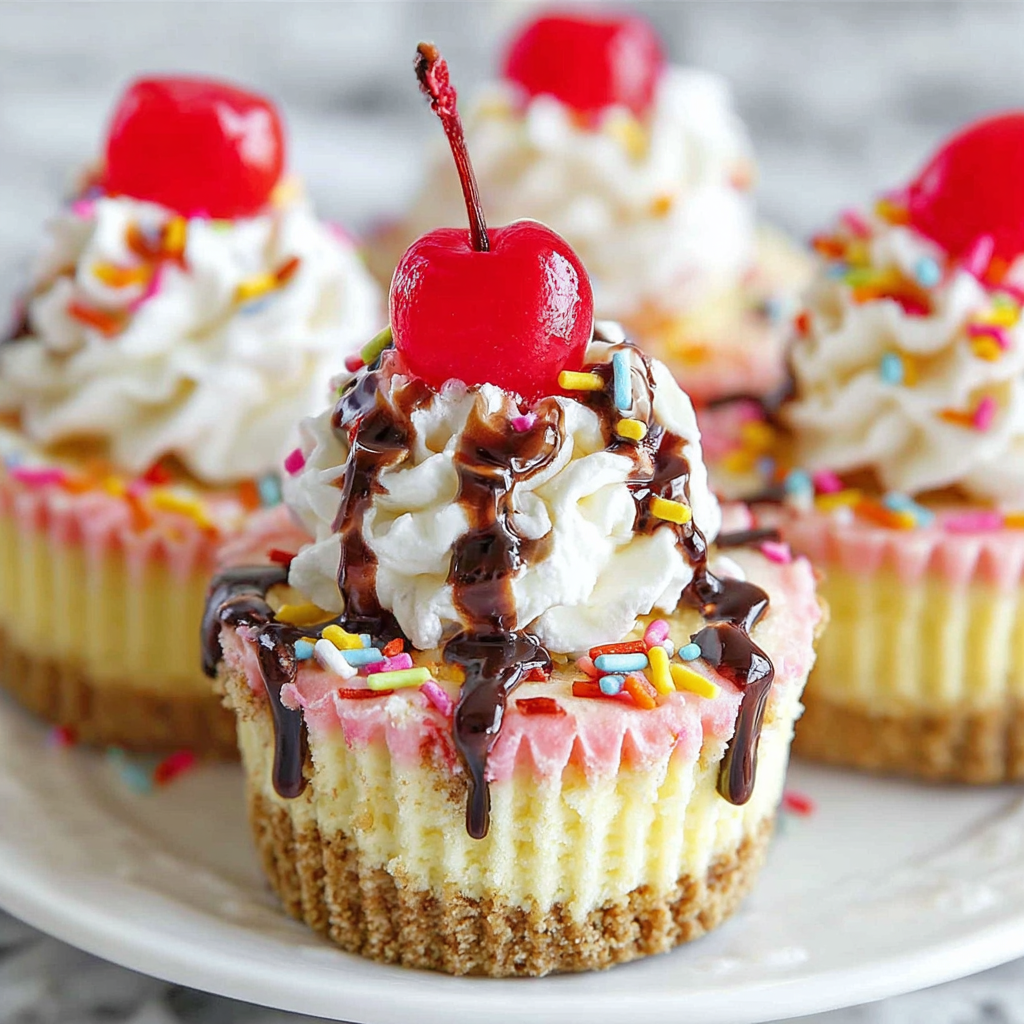
This recipe for Ice Cream Sundae Mini Cheesecakes is one of those treats that instantly takes me back to childhood summer parties. I first developed this version the summer I wanted individual desserts that looked like little ice cream sundaes but tasted like a rich, creamy cheesecake. Between the crunchy cone crust and the light whipped cream "scoops," these tiny desserts have become my go-to for backyard get-togethers and kids' birthday parties. The joy is in the presentation: each mini cheesecake looks like a perfectly scooped sundae with chocolate drizzle, sprinkles, and a bright cherry on top.
I discovered the concept after watching my nephew try to balance a scoop of ice cream on a cone and inevitably drip it everywhere. I thought: what if the cone were actually the base of a refrigerated dessert so the "scoop" could be made of whipped cream and last longer in the summer heat? The result keeps the nostalgic ice-cream-on-a-cone look, but the texture is creamy and dense like a classic cheesecake. The sweet, slightly salty crunch of the cone crumbs provides contrast to the tangy filling, and the two whipped creams — vanilla and strawberry — let you play with color and flavor for a playful presentation.
When I first served these, my family spent more time admiring the presentation than eating — until the first bite. The combination of textures always gets compliments, and the recipe is flexible enough to please picky eaters and dessert lovers alike.
My favorite part of this dessert is the reaction when guests realize these are actually tiny, chilled cheesecakes and not scooped ice cream. The visual trick is always a conversation starter, and I love how adaptable the toppings are: swap in caramel, toasted coconut, or chopped nuts depending on the crowd.
Store assembled cheesecakes in an airtight container in the refrigerator for up to 3–4 days. If you need longer storage, freeze un-topped cheesecakes for up to 2 months: flash-freeze on a tray, then wrap each tart in plastic wrap followed by foil and place in a freezer-safe container. To serve frozen cheesecakes, thaw in the refrigerator for several hours and then add freshly whipped cream, chocolate sauce, and toppings. Avoid leaving the whipped cream-topped minis at room temperature for more than 30 minutes during warm weather to preserve texture and safety.
For a gluten-free option, use certified gluten-free waffle cone crumbs or a gluten-free cookie crumb in place of the cone crumbs. Replace sour cream with full-fat Greek yogurt for a tangy but slightly lighter filling; the texture will be similar though marginally less rich. For a lower-sugar version, reduce the filling sugar by 1–2 tablespoons and use a powdered sugar substitute in the whipped creams, but be cautious as some substitutes affect texture. Vegan versions require a cream cheese alternative, aquafaba-based whipped topping, and coconut cream for the ganache — results will be different but still tasty.
Serve these mini desserts on a decorative platter for summer parties or place one on a small dessert plate with a spoonful of fresh berry compote. They pair beautifully with espresso or a light dessert wine. For a kids' party, create a topping station with chopped nuts, crushed cookies, rainbow sprinkles, mini candies, and different syrups so guests can customize their own miniature sundaes.
The idea of transforming classic ice cream sundae components into a non-melting dessert is a modern, playful take on American diner traditions. Cheesecake itself has roots that span ancient Greece to New York’s famous dense, creamy versions. This recipe blends the nostalgic ice cream-cone aesthetic with the creamy richness of American-style cheesecake to create a portable, themed dessert perfect for summer gatherings.
In summer, emphasize fresh berries and light sauces; in fall, swap the strawberry cream for a cinnamon apple whip and drizzle with salted caramel. For winter holidays, replace sprinkles with chopped peppermint and use a dark chocolate ganache. The base crust can be made from ginger snaps for autumnal spice or chocolate wafer cookies for a richer flavor.
To streamline prep, bake the crusts and filling the day before and keep chilled in the refrigerator. Make whipped creams and ganache on the morning of the event; store whipped creams in the fridge in an airtight container and re-whisk briefly if they lose volume. Transport chilled minis on a tray inside a cooler with ice packs for outdoor events to keep them safe and visually perfect.
These tiny sundaes-in-disguise are a guaranteed smile-maker — they combine nostalgic presentation with reliably delicious flavors. Try them once and you’ll have a new party favorite that’s both playful and refined.
Bring cream cheese to room temperature so it mixes smoothly and avoids lumps in the filling.
Whip creams until stiff peaks form and keep them chilled to hold the dome shape longer.
Press the crust firmly and evenly into the liners using the bottom of a measuring cup for consistent results.
Bake at lower temperature and cool gradually to reduce the chance of cracks in the filling.
This nourishing ice cream sundae mini cheesecakes recipe is sure to be a staple in your kitchen. Enjoy every moist, high protein slice — it is perfect for breakfast or as a wholesome snack any time.
Yes. Un-topped cheesecakes freeze best. Wrap individually and store in a freezer-safe container for up to 2 months. Thaw in the fridge before topping.
To avoid cracking, mix on low speed and cool gradually by turning off the oven and leaving the door closed for 10 minutes before opening.
This Ice Cream Sundae Mini Cheesecakes recipe makes perfectly juicy, tender, and flavorful steak every time! Serve with potatoes and a side salad for an unforgettable dinner in under 30 minutes.
Preheat the oven to 325°F and line a 12-cup muffin pan with cupcake liners.
Combine crushed waffle cone crumbs, 2 tablespoons sugar, and 4 tablespoons melted butter. Press about 2 tablespoons into each liner to form the crust.
Bake at 325°F for 5 minutes to set the crusts. Remove and cool while preparing the filling.
Reduce oven to 300°F. Beat room-temperature cream cheese with 1/2 cup sugar and 2 tablespoons flour on low speed until smooth, scraping the bowl.
Beat in 1/2 cup sour cream and 1 1/2 teaspoons vanilla on low until well combined.
Add 2 large eggs one at a time, beating slowly and scraping the sides after each addition to prevent excess air.
Divide batter among cups and bake at 300°F for 18 minutes. Turn off oven and leave door closed for 10 minutes, then crack door and cool 15-20 minutes before refrigerating.
Refrigerate cheesecakes until fully set, at least 2 hours or overnight for best texture and flavor.
Whip the vanilla and strawberry creams separately to stiff peaks using chilled bowls and whisk attachments; the freeze-dried strawberry powder is folded into the second batch.
Heat 6 tablespoons heavy cream until just boiling, pour over 3 ounces chocolate chips, let sit 1–2 minutes then whisk until smooth.
Pipe domes of whipped cream onto each cooled cheesecake, drizzle with chocolate sauce, and add sprinkles and a cherry on top.
Chill until serving. Store covered in the fridge up to 3–4 days; add final toppings just before serving for best appearance.
Last Step: Please leave a rating and comment letting us know how you liked this recipe! This helps our business to thrive and continue providing free, high-quality recipes for you.
Leave a comment & rating below or tag
@yummique on social media!

Tender grilled zucchini wraps basil ricotta, bathed in marinara and mozzarella, baking into a bubbly, lighter Italian comfort dinner ready in 30 minutes.

Crisp-edged, tender-in-the-middle zucchini and yellow squash made in 15 minutes with pantry spices. A vibrant, veggie-forward side everyone devours.

Tender chicken meatballs simmered in rich marinara and blanketed with melty mozzarella, bringing all the flavors of chicken parm in cozy, bite-sized form.
Leave a comment & rating below or tag @yummique on social media!
Enjoyed this recipe? Share it with friends and family, and don't forget to leave a review!
This recipe looks amazing! Can't wait to try it.
Comments are stored locally in your browser. Server comments are displayed alongside your local comments.

Join to receive our email series which contains a round-up of some of our quick and easy family favorite recipes.
