
>>

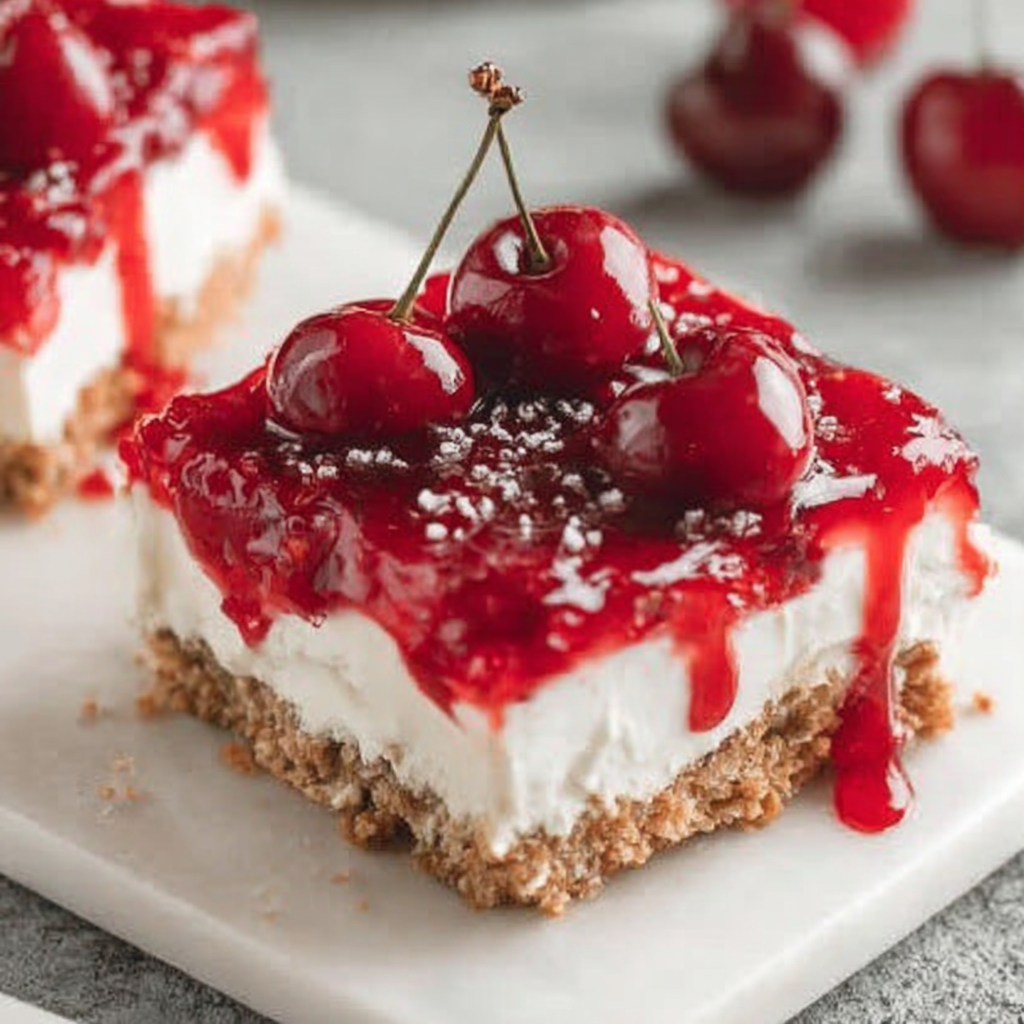
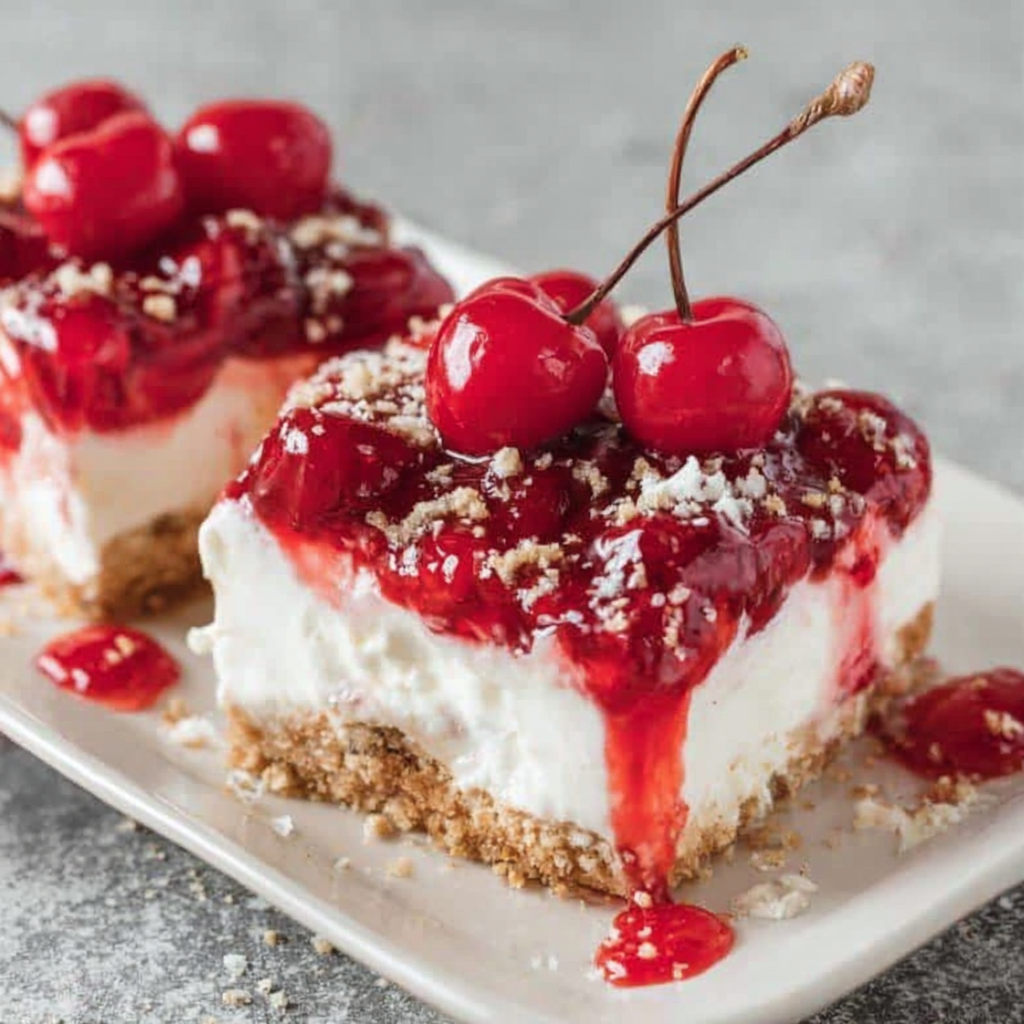
Cool, creamy, and incredibly simple — an old fashioned no-bake cherry delight with a crunchy graham cracker base, creamy whipped filling, and glossy cherry topping.
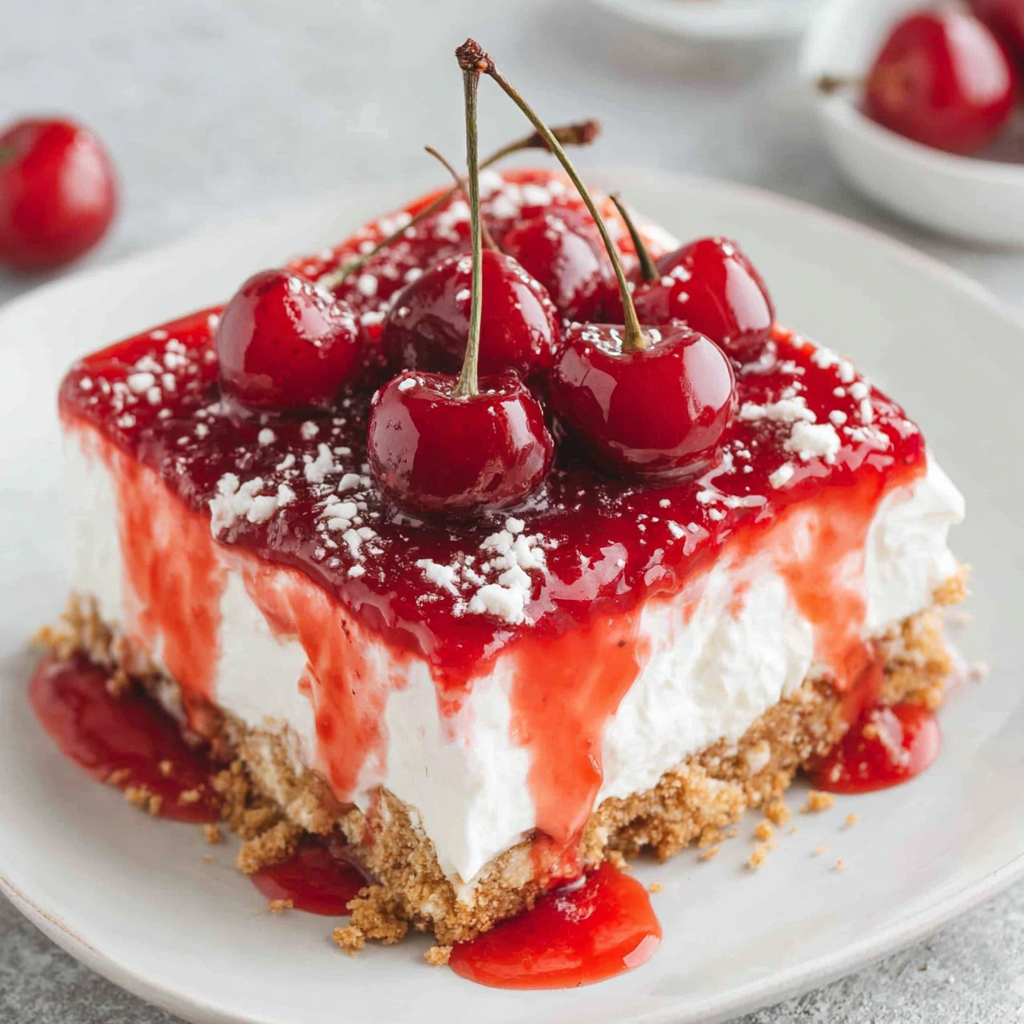
This Old Fashioned Cherry Delight has been a staple at summer potlucks and family dinners for as long as I can remember. I first learned this version at a neighborhood bake sale where the dish disappeared faster than I could plate it. The appeal is immediate: a buttery graham cracker base that gives a gentle crunch, a cloudlike cream cheese and whipped cream layer that is lightly sweet and tangy, and a glossy cherry topping that sings of nostalgia. It’s one of those desserts that feels both classic and comforting.
I discovered a few tweaks over time — a touch of lemon in the filling brightens the richness, and using a pudding mix helps stabilize the whipped layer so slices hold cleanly for serving. Because it’s no-bake, it’s perfect for warm days or last-minute gatherings. I love that it can be made ahead and chilled, leaving time to prepare other dishes. When I brought this to my sister’s backyard barbecue, everyone asked for the recipe and a second helping; even those who usually skip sweets came back for a spoonful.
I’ve served this dessert at birthday parties, church socials, and weeknight family dinners. Everyone remembers the first spoonful — it’s nostalgic without being fussy. When guests see the glossy cherries on top they light up, and I love hearing the conversations that spark over a shared slice. It’s comfort food in a pan that always brings people together.
My favorite part is that even though this dish is simple, it reads as homemade and thoughtful. Guests always assume it took longer than it did, and I enjoy the small reveal when I tell them there was no baking involved. The texture contrast and bright cherry topping make it memorable, and it’s one of the first recipes I teach to new cooks because the techniques — whipping, folding, pressing — are fundamental.
Store covered in the refrigerator for up to 3 days; a loose-fitting lid or plastic wrap keeps the top glossy and prevents the crust from absorbing other odors. Use an airtight container if you cut individual portions. For best texture, wait until just before serving to slice; chilled slices hold shape best. To re-present after refrigeration, let the dessert sit at room temperature 10–15 minutes so the cream softens slightly for a silkier mouthfeel. Avoid freezing the whole assembled dish — cherries become grainy and the cream layer can separate when thawed.
If you need to adapt, use gluten-free graham-style crumbs and gluten-free pudding mix to make this gluten-free. For a dairy-free version, vegan cream cheese and coconut whipped cream can work, though the flavor and texture will differ; add a stabilizer like a tablespoon of cornstarch to the filling. For a lighter version, replace one cup of heavy cream with 2% milk whipped with gelatin stabilizer, but note the result will be less rich. Swap cherry pie filling for apple or blueberry pie filling at the same volume for seasonal variety.
Serve chilled in squares or bars, garnished with a few fresh cherries, a sprig of mint, or a dusting of powdered sugar for an elegant touch. Pair with strong coffee or iced tea to balance the sweetness. For a party, cut into smaller bite-sized bars and serve on a decorative platter. This dessert also works beautifully as part of a buffet where other lighter fruit salads or cheese plates provide contrast.
This no-bake layered treat reflects the American tradition of easy, homey desserts from mid-20th century kitchens where convenience foods like pudding mix and canned pie filling became staples. It’s a cousin to refrigerated torte and icebox cakes, recipes born from the desire to make show-ready desserts without ovens or lengthy techniques. The cherry topping nods to fruit preserves and pie fillings that have long been used to brighten rich, creamy bases.
In summer, swap canned cherry filling for a quick fresh cherry compote with a bit of sugar and lemon zest for brightness. In fall, try apple pie filling and a sprinkle of cinnamon on the cream layer. For holidays, use spiced cranberry topping or layer with crushed ginger cookies for a festive twist. Small changes in topping and garnishes can shift the dessert to suit the season while keeping the same simple method.
Make the crust and filling separately the day before: press the crust into the pan, cover, and chill; keep the whipped cream chilled in an airtight container. Assemble the day of serving for the freshest top texture, or assemble fully and refrigerate for 2–4 hours before serving. Use shallow airtight containers for cut portions to speed cooling and to keep slices neat. Bring to room temperature for 10–15 minutes before serving for the best mouthfeel.
This dessert is a testament to simple, dependable techniques that produce a crowd-pleasing result. It’s easy enough for a weekday treat and polished enough for company, so keep this recipe in your entertaining rotation and make it your own with seasonal toppings.
Use room-temperature cream cheese for a lump-free filling and smoother texture.
Chill the mixing bowl and whisk before whipping heavy cream to speed up the process and improve volume.
Press the crust firmly and evenly so the base doesn't crumble when slicing.
For cleaner slices, run a sharp knife under hot water, dry it, and slice between heats.
This nourishing old fashioned cherry delight recipe is sure to be a staple in your kitchen. Enjoy every moist, high protein slice — it is perfect for breakfast or as a wholesome snack any time.
This Old Fashioned Cherry Delight recipe makes perfectly juicy, tender, and flavorful steak every time! Serve with potatoes and a side salad for an unforgettable dinner in under 30 minutes.
Spray a 13x9-inch baking dish with cooking spray. Combine graham cracker crumbs, granulated sugar, and melted butter in a large bowl. Press the mixture firmly into the bottom of the pan to form an even crust. Chill briefly to firm up.
Place heavy whipping cream in a chilled bowl and beat to stiff peaks. Watch carefully to avoid overbeating. Set aside in the refrigerator until needed.
Beat softened cream cheese until smooth. Add powdered sugar, vanilla extract, lemon juice, and dry pudding mix. Mix until silky and fully combined, scraping the sides of the bowl.
Gently fold whipped cream into the cream cheese mixture in two additions to preserve airiness. Spread evenly over the chilled crust with a spatula.
Spoon cherry pie filling over the cream layer and spread gently. Cover and refrigerate for at least 2 hours before serving; 3–4 hours is preferable for best firmness.
Last Step: Please leave a rating and comment letting us know how you liked this recipe! This helps our business to thrive and continue providing free, high-quality recipes for you.
Leave a comment & rating below or tag
@yummique on social media!

Tender grilled zucchini wraps basil ricotta, bathed in marinara and mozzarella, baking into a bubbly, lighter Italian comfort dinner ready in 30 minutes.

Crisp-edged, tender-in-the-middle zucchini and yellow squash made in 15 minutes with pantry spices. A vibrant, veggie-forward side everyone devours.

Tender chicken meatballs simmered in rich marinara and blanketed with melty mozzarella, bringing all the flavors of chicken parm in cozy, bite-sized form.
Leave a comment & rating below or tag @yummique on social media!
Enjoyed this recipe? Share it with friends and family, and don't forget to leave a review!
This recipe looks amazing! Can't wait to try it.
Comments are stored locally in your browser. Server comments are displayed alongside your local comments.

Join to receive our email series which contains a round-up of some of our quick and easy family favorite recipes.
