
>>

Quick, no-bake peanut butter and honey cereal bites that the kids adore. Ready in five minutes and perfect for snacks, lunchboxes, and after-school treats.
This little snack has been my go-to since the first time my kids begged for something sweet that I could feel good about handing over. I discovered this combination on a rainy afternoon when the pantry was sparse and everyone needed a pick-me-up before homework. The mix of warm honey and nutty peanut butter coating crunchy cereal made tiny hands clap, and it became one of those easy standby treats I make when I want something fast and satisfying.
The texture is the star here: a soft, sticky exterior that sets into a slightly firm shell and a crisp, toasted cereal center. The flavor is straightforward and pleasingly nostalgic. It tastes like childhood lunches, yet it is simple enough to customize for grown-up palates. I like this version because it requires no baking, minimal cleanup, and it travels well when packed in a lunchbox. It is especially useful on busy afternoons when you want something homemade but cannot spare a lot of time.
In my house, these went from experiment to staple after one round. My niece announced they were the best thing she had ever eaten, and my partner hides them in the pantry to nibble on during meetings. The simple process invites kids to measure, stir, and drop the bites, which makes them feel proud and more likely to eat what they helped make.
My favorite thing about these bites is how forgiving the process is. Kids who are reluctant to help in the kitchen love scooping and dropping the bites, and friends have asked for the recipe at playdates. They are the kind of treat that brings people together without a lot of fuss.
Store cooled bites in a single layer or separated with parchment in an airtight container at room temperature for up to five days. For longer storage, freeze in a freezer-safe container for up to three months. To thaw, leave at room temperature for 20 to 30 minutes. If they firm up too much in the fridge, a brief 10 second microwave on low power softens them without melting the coating.
Swap peanut butter for almond or sunflower seed butter to change the flavor or accommodate nut allergies. Use maple syrup instead of honey for a vegan version, though the set may be slightly softer. Substitute a gluten-free puffed oat cereal or rice cereal if you prefer a lighter crunch. If you want sweeter bites, add a tablespoon of brown sugar to the peanut butter mixture while heating.
Serve as an after-school snack, packed in lunchboxes, or on a party platter mixed with dried fruit and chocolate chips. Garnish with a sprinkle of flaky salt for contrast, or drizzle with melted dark chocolate for a sweeter treat. They pair nicely with fresh fruit and a glass of milk for a balanced snack.
These bites are a modern, no-bake take on classic cereal bars and cluster treats popular in many home kitchens. They draw on the simple traditions of combining a binder like honey or syrup with crunchy grains to create a portable snack. Similar combinations appear around the world where local sweeteners and nut pastes are used to bind toasted grains.
In cooler months, add a pinch of cinnamon and nutmeg to the warm mixture for cozy flavors. For summer, fold in chopped dried apricots or freeze small batches for a chilled chewy treat. Around the holidays, mix in a tablespoon of cocoa powder and a handful of festive sprinkles for a playful twist.
Make a double batch and portion into individual snack bags for grab-and-go convenience. Use silicone muffin liners to keep bites separate and stable in a single container. If packing for lunchboxes, include a small ice pack if lunchtime will be warm to preserve texture and freshness.
These bites have become a small ritual at my house. They are quick to make, endlessly adaptable, and they bring the bright energy of a homemade treat to busy days. I encourage you to make them your own and to involve little helpers whenever possible. Happy snacking.
Measure ingredients precisely for consistent texture and use a level tablespoon when portioning to keep sizes uniform.
If using natural peanut butter that separates, stir it well before measuring to ensure even fat distribution.
Allow bites to cool on parchment at room temperature for at least 30 minutes before moving to a container so they set properly.
If making ahead, freeze in single layers separated by parchment to prevent sticking and thaw at room temperature before serving.
For extra crunch, fold in a handful of chopped toasted nuts or seeds but adjust portion sizes if serving to children with allergies.
This nourishing peanut butter cereal bites recipe is sure to be a staple in your kitchen. Enjoy every moist, high protein slice — it is perfect for breakfast or as a wholesome snack any time.
If the mixture does not set, warm it a bit longer so the honey reaches a gentle boil and the coating becomes glossy. Avoid overheating which can burn the honey.
Yes. Use a small saucepan and gently heat the peanut butter and honey over medium-low heat for about 2 minutes, stirring constantly. Remove from heat before adding vanilla.
This Peanut Butter Cereal Bites recipe makes perfectly juicy, tender, and flavorful steak every time! Serve with potatoes and a side salad for an unforgettable dinner in under 30 minutes.
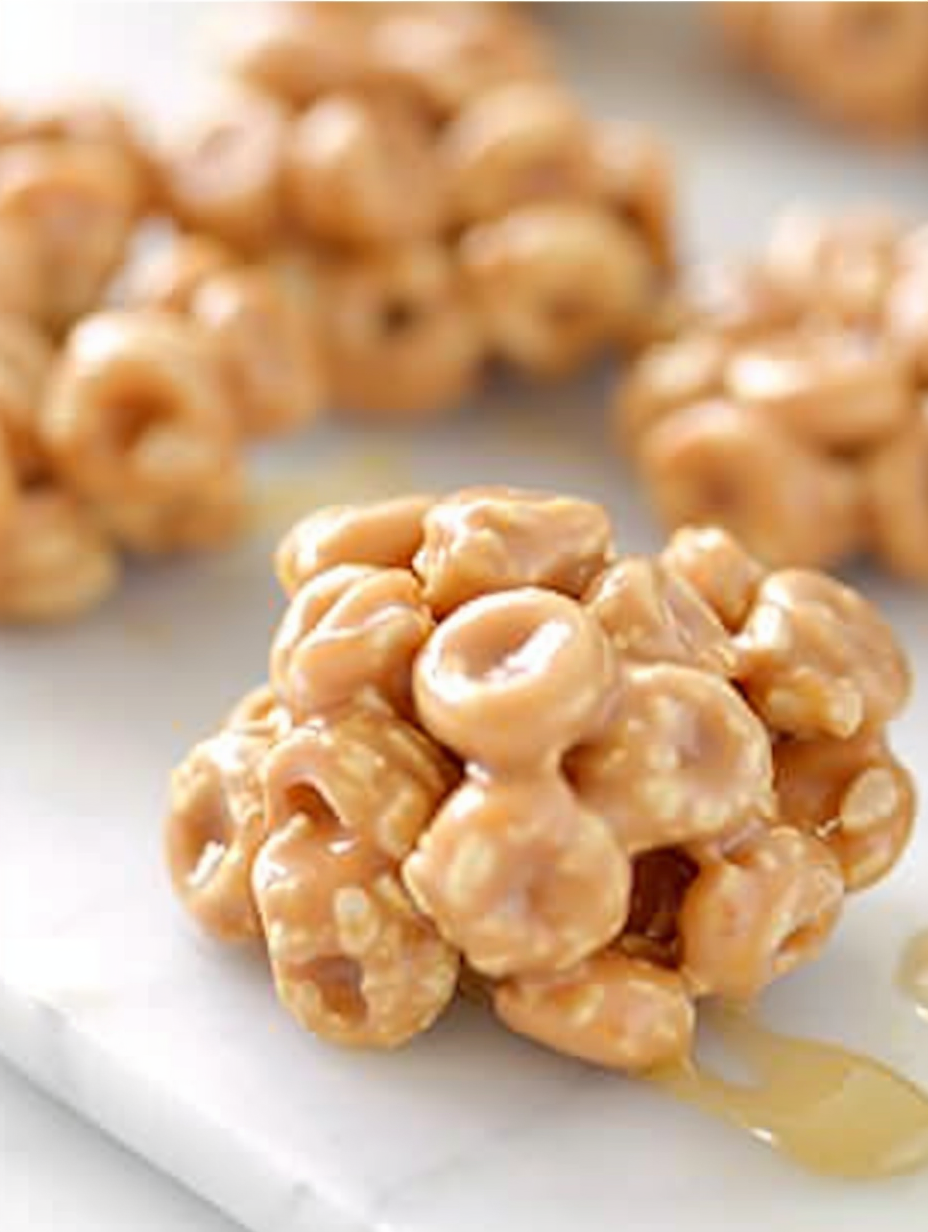
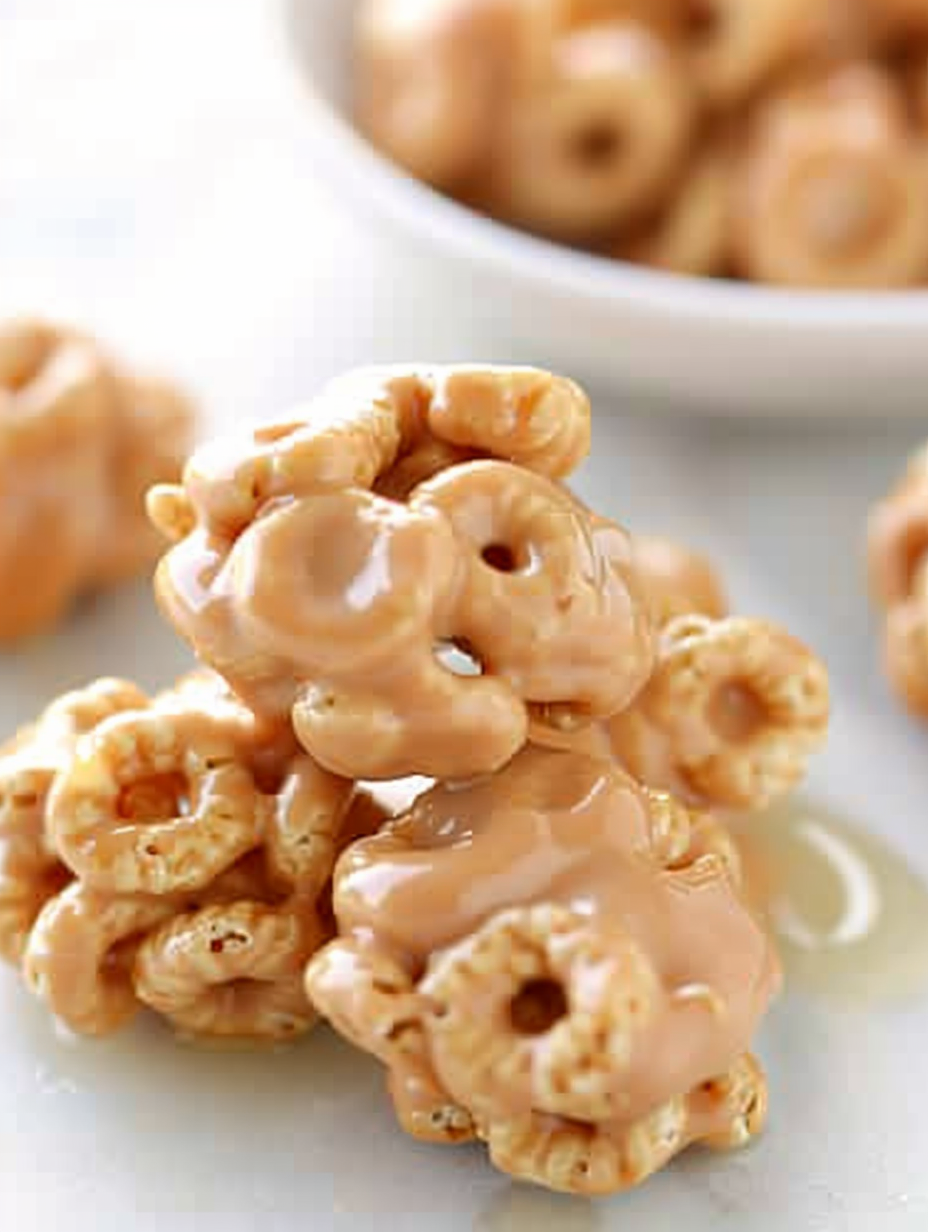
Place 1/2 cup peanut butter and 1/2 cup honey in a large microwave-safe bowl and heat on high for 60 seconds. Stir until glossy and mostly smooth.
Return to the microwave for an additional 30 to 45 seconds until the mixture bubbles gently. Watch closely to prevent burning.
Stir in 1/2 teaspoon vanilla extract immediately and mix until the liquid is slightly runny and aromatic.
Fold 4 cups plain cereal into the warm mixture until every piece is evenly coated with the honey peanut butter blend.
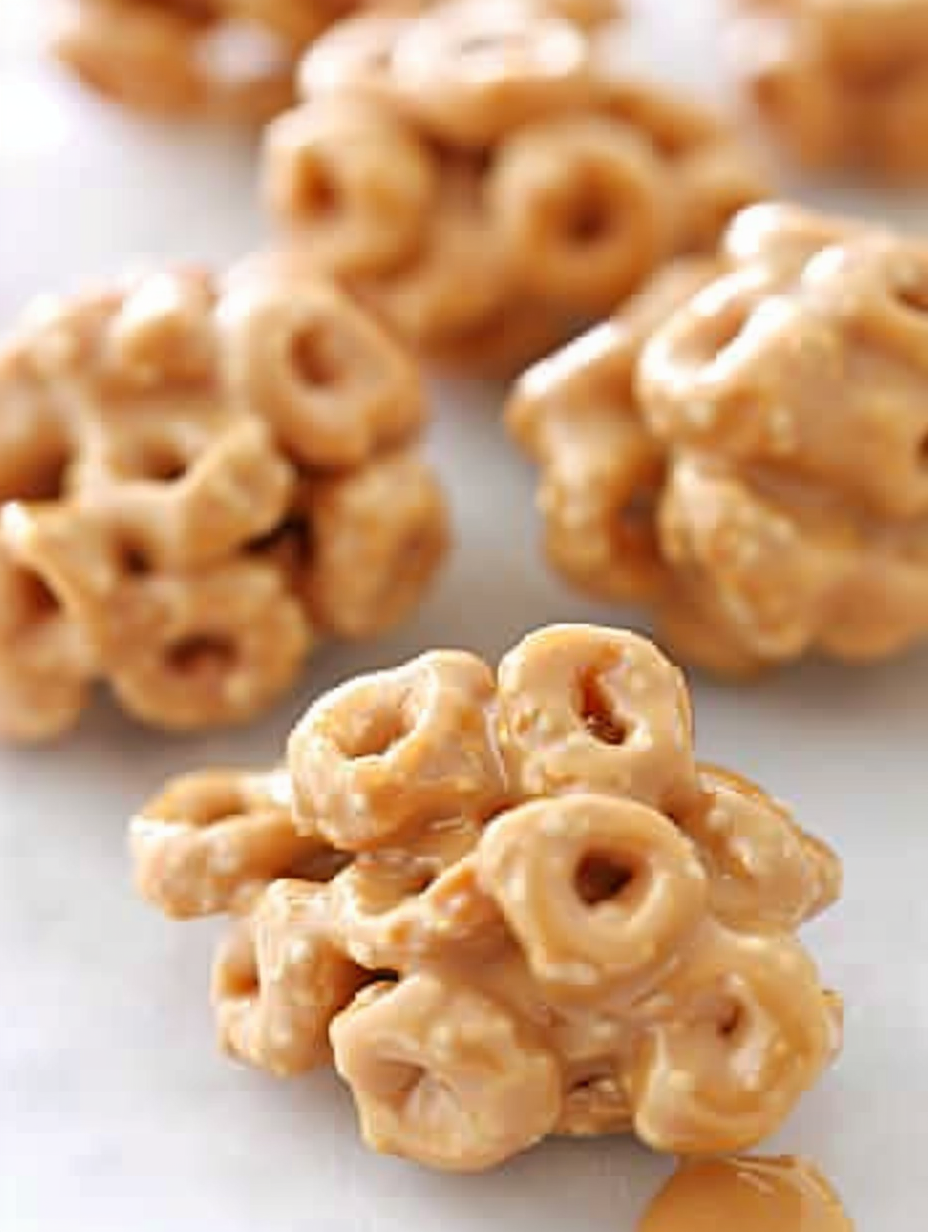
Drop tablespoon-sized portions onto parchment-lined baking sheets or into paper liners. Leave space between portions so they do not stick together.
Let bites set at room temperature for about 30 minutes until pick-up-able. Store in an airtight container for up to five days or freeze for up to three months.
Last Step: Please leave a rating and comment letting us know how you liked this recipe! This helps our business to thrive and continue providing free, high-quality recipes for you.
Leave a comment & rating below or tag
@yummique on social media!

Tender grilled zucchini wraps basil ricotta, bathed in marinara and mozzarella, baking into a bubbly, lighter Italian comfort dinner ready in 30 minutes.

Crisp-edged, tender-in-the-middle zucchini and yellow squash made in 15 minutes with pantry spices. A vibrant, veggie-forward side everyone devours.

Tender chicken meatballs simmered in rich marinara and blanketed with melty mozzarella, bringing all the flavors of chicken parm in cozy, bite-sized form.
Leave a comment & rating below or tag @yummique on social media!
Enjoyed this recipe? Share it with friends and family, and don't forget to leave a review!
This recipe looks amazing! Can't wait to try it.
Comments are stored locally in your browser. Server comments are displayed alongside your local comments.

Join to receive our email series which contains a round-up of some of our quick and easy family favorite recipes.
